

Etsy Shop Photo Tips
Here’s a little ‘behind the scenes’ look at what goes on around here on a typical morning. Get up, prepare older child for school, get him off to school, work on the days project (be it soaping or sewing) while youngest catches up on Sesame Street, and then we have a photo session of said projects.
Since photo’s can be such a maker or breaker in this fast-paced world we live in, I thought I might delve in what we have learned.
I don’t have a fancy camera, and frankly in my opinion, non of us really need one. As long as it has a range of shots it can take: zoom for close-ups (the flower icon optiion being great for small items), flash and no flash; you’re pretty much good to go. One absolute requirement is that it’s digital, of course

Positioning:
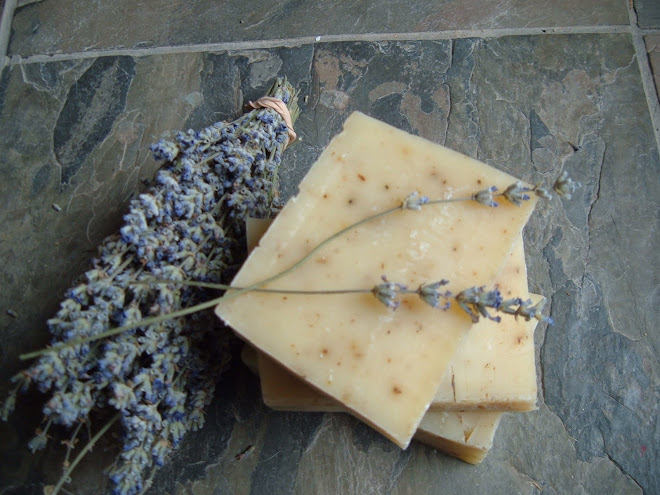
It’s a good idea to set up your item or person as you might see them in an add or magazine. No front on portrait shots here. Have the person sit or stand at an angle, stretch their neck a bit, hold it to the side. Whatever it takes to get a little interest, but putting the emphasis primarily on your product. The main idea is to get some attention, but not detract from the item.
If you just have objects, position multiples in odds, they create a more interesting layout. Or if you have an even number, don’t just line them in a tidy row. Create a diamond or other geometric shape other than a square or rectangle, it will create more interest.

*Tip* A cool little tip I’ve learned is that the eye reads in an “e” pattern. That is a small case e: in the middle, to the right, up, down and around. Cool, huh? Remember that next time taking the photo or cropping and watch the majic
Lighting:
 Lighting, lighting, lighting It is very crucial. You don’t want to have your figure squinting into the sun I don’t care how many text books once read that you want the light in their face, they will never look good with a squinting frown or closed eyes. I like to position my subjects in the shade, or take a photo on a cloudy day. I take my photos primarily outside on the shady side of my house, or where ever we are, be it morning or evening. Noon is tough, I try to avoid photos in the glaring sun.
 For small objects, I try to find a large window, preferably one that has a roof overhang, patio cover or something that will create a little shade directly above the window (avoid leafy or lattice type shade, it will come out in the photo too ).and set up around noon-2pm for east facing windows. I typically position my objects on a chair, an interesting cloth or beaded runner. I keep in mind the positioning pointers listed above and prepare the camera with no flash. I get as close to the object as I can while still maintaining good focus, hold my breath and then take the photo. I try a bunch of different angles, they can always deleted later. Keep the image as clean as possible, as there’s nothing worse than a great shot with a silly shoelace poking in an unexpected place
Photo Software:
Ok, now I’m not going to go into dramatic detail, but I think it is worth pointing out the value of a good photo program. The one I have came with my HP printer/scanner/copier. It’s pretty basic, but I can crop and adjust my photos as needed. The main idea is to get the best photo possible so that once you get to the touch-up stage, there’s not much you need to do.
*Tip* If you are selling items you’re photographing as I am, don’t use the photo options that change the color of your product. As we all know, monitors don’t always display what the camera picked up and the camera may have picked up the color differently than it is in real life. If you have to change the color at all, just make sure that it is as close to what the product actually looks like as possible.
I hope these pointers will help you on your way. I know as soon as I started using these few pointers, my photos have been much more of a success. As said before, "This is only the beginning."
If you have any that you’d like to add, feel free. ; )


No comments:
Post a Comment